Sometimes, you may want to record the results of a particular battle or match in your game, but setting up an entire server and database can be overkill, especially if its not a huge amount of data.
Google Cloud
Google cloud's free tier offerings are pretty juicy for the small indie dev.
Here's a simple "stack" you can use with Google Cloud:
- Firestore
- Cloud Run
- Cloud Build (optional for CI/CD)
That's all you need really.
Why Firestore and not Firebase?
You may have heard of Firebase, but not Firestore.
We don't need all the extra jazz that comes with firebase, all we need is a simple database, and firestore works great for that.
In fact, Firestore is part of Firebase, it's the NoSQL database component of it.
Account and Project Setup
This article won't cover setting up a google cloud account and project, see here to get started with that.
Deployment Methods
Using Google Cloud CLI
Using Cloud Console
Quick Start (Google Cloud CLI and NodeJS)
Assuming that you already the gcloud CLI installed, with a google cloud project ready to go, open up a terminal in your folder of choice and run:
- gcloud init
- npm init
- npm install @google-cloud/firestore @google-cloud/functions-framework dotenv jsonwebtoken
Now we should we good to start writing some code:
- Create an index.js file in the root directory
- Copy pasta the below sample files (or write your own, I won't stop you)
Sample index.js
const functions = require('@google-cloud/functions-framework');
const {Firestore} = require('@google-cloud/firestore');
const jwt = require('jsonwebtoken');

require('dotenv').config()

const JWT_SECRET = process.env.JWT_SECRET ?? '';
const GAME_VERSION = process.env.GAME_VERSION ?? "v0";
const BATTLE_COLLECTION_NAME = process.env.GAME_COLLECTION_NAME ?? GAME_VERSION;
const DB_NAME = process.env.DB_NAME ?? "(default)";

function checkRequestBody(obj){
    if (Object.keys(obj) === 0) throw Error('Request body should have at least one property');
    if (typeof obj.data === 'undefined') throw Error('data should not be undefined');

    return jwt.verify(obj.data, JWT_SECRET);
}

const validateRequest = (req, res) => {
    // Only accept POST
    if (req.method !== 'POST'){
        console.log('Request is not POST!');
        res.status(400).send();
        return null;
    }

    let data;
    try
    {
        data = checkRequestBody(req.body);
    }
    catch(e)
    {
        console.log('Request error', e.message, req.body);
        res.status(400).send(e.message);

        return null;
    }

    return data;
}

const saveDocument = (req, res, collectionName, data) => {
    let firestore = new Firestore({
        projectId: 'game',
        databaseId: DB_NAME
    });

    const salt = (+new Date).toString(36);
    const docId = data.versionId.toString() + '-' + data.timestamp.toString().replace(/\//g, '').replace(/\s/g, '') + '-' + salt;

    console.log("Saving document: " + docId);

    firestore
        .collection(collectionName)
        .doc(docId)
        .set(data)
        .then((res) =>
        {
            console.log("Successfully added document.")
        })
        .catch((err) =>
        {
            console.log('Request error', err.message, req.body);
            res.status(400).send(err.message);
        });

    res.send('OK!');
}

const saveBattle = (req, res) => {
    console.log("SAVING BATTLE");
    res.set('Access-Control-Allow-Origin', '*'); // Allow from anywhere

    let data = validateRequest(req, res)
    if (!data)
        return;

    console.log("REQUEST OK, WRITING TO FIRESTORE");
    saveDocument(req, res, BATTLE_COLLECTION_NAME, data);
}

functions.http('saveBattle', saveBattle);
Example package.json
{
  "name": "game-telemetry",
  "version": "1.0.0",
  "description": "send telemetry to gcf",
  "main": "index.js",
  "scripts": {
    "test": "echo \"Error: no test specified\" && exit 1",
    "local": "npx @google-cloud/functions-framework --target=saveBattle --env-vars-file .env.dev",
    "deploy": "gcloud functions deploy save-battle --env-vars-file .env --gen2 --runtime=nodejs20 --region=asia-southeast1 --source=. --entry-point=saveBattle --trigger-http --allow-unauthenticated",
    "deploy-dev": "gcloud functions deploy save-battle-dev --env-vars-file .env.dev --gen2 --runtime=nodejs20 --region=asia-southeast1 --source=. --entry-point=saveBattle --trigger-http --allow-unauthenticated"
  },
  "author": "",
  "license": "ISC",
  "dependencies": {
    "@google-cloud/firestore": "^7.9.0",
    "@google-cloud/functions-framework": "^3.4.1",
    "dotenv": "^16.4.5",
    "jsonwebtoken": "^9.0.2"
  }
}
Sample .gcloudignore
# This file specifies files that are *not* uploaded to Google Cloud
# using gcloud. It follows the same syntax as .gitignore, with the addition of
# "#!include" directives (which insert the entries of the given .gitignore-style
# file at that point).
#
# For more information, run:
#   $ gcloud topic gcloudignore
#
.gcloudignore
# If you would like to upload your .git directory, .gitignore file or files
# from your .gitignore file, remove the corresponding line
# below:
.git
.gitignore

node_modules
#!include:.gitignore
Sample .env
JWT_SECRET: somelongstringgogenerateone
COLLECTION_NAME: battles
GAME_VERSION: v1
DB_NAME: (default)
Here's a guide on how to generate a simple JWT secret: Generate a Random JWT Secret Key
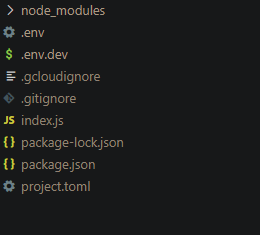
Folder Structure
Your final folder structure should look something like this, maybe minus the project.toml:
Now we can finally move on to deployment.
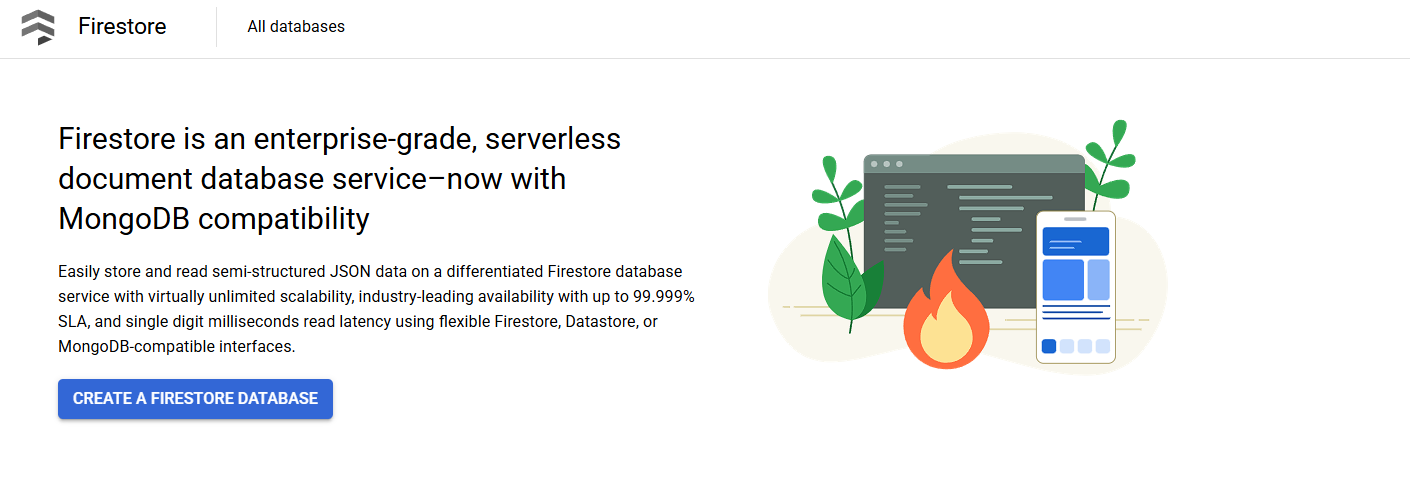
Firestore
Before we can get started for real, we'll need to create a Firestore database, the defaults are generally fine:
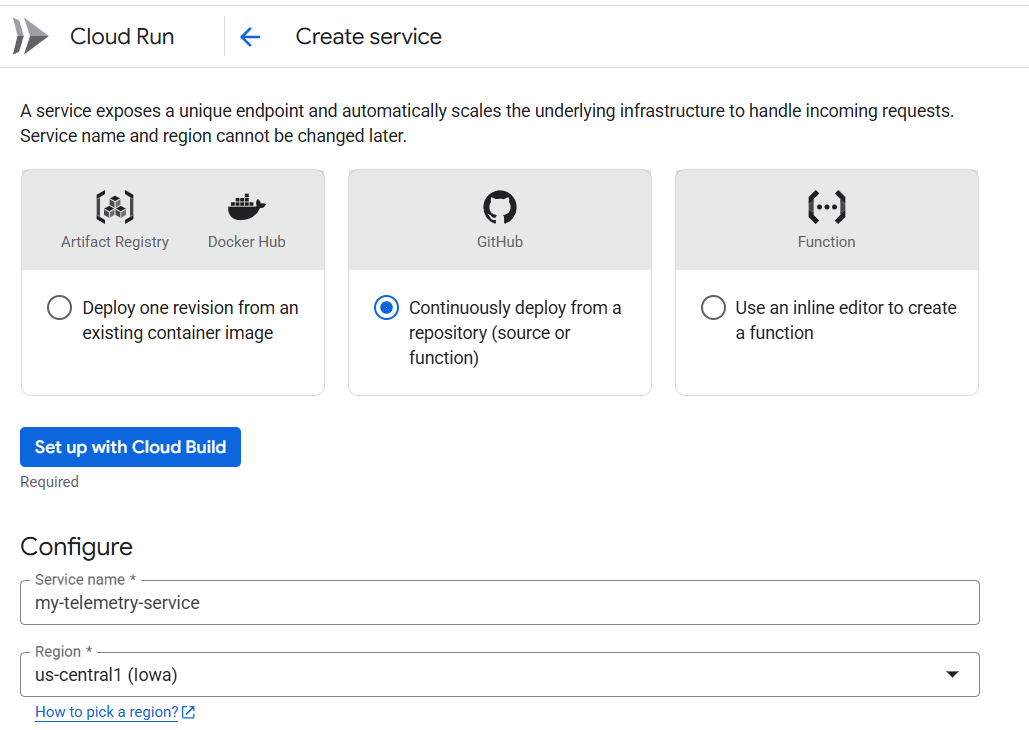
Cloud Run Panel
Although before that, you'll probably want to get very familiar with this panel in the google cloud console:

Manual Deployment
Run the following command in a terminal:
gcloud functions deploy save-battle --env-vars-file .env --gen2 --runtime=nodejs20 --region=asia-southeast1 --source=. --entry-point=saveBattle --trigger-http --allow-unauthenticated
Don't forget to replace some of the flags with ones appropriate for your purposes, e.g. region.
We're done, now check your cloud run logs and stuff, and copy the service URL to use in Unity.
CI/CD (Optional)
- Create a
project.tomlfile in the root directory with the following content:
Sample project.toml
[[build.env]]
    name = "GOOGLE_FUNCTION_TARGET"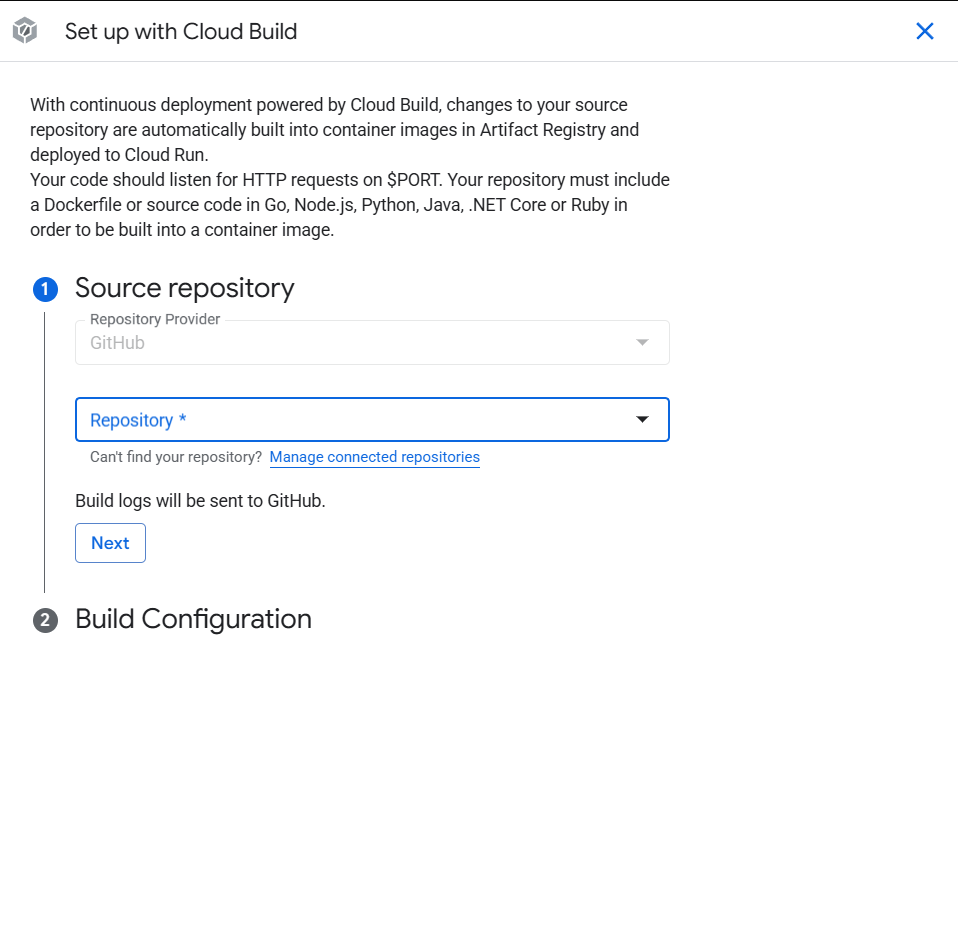
value = "saveBattle"- Setup a Cloud Run service to deploy from a repository (GitHub).
- Click Set up with Cloud Build and follow the instructions.
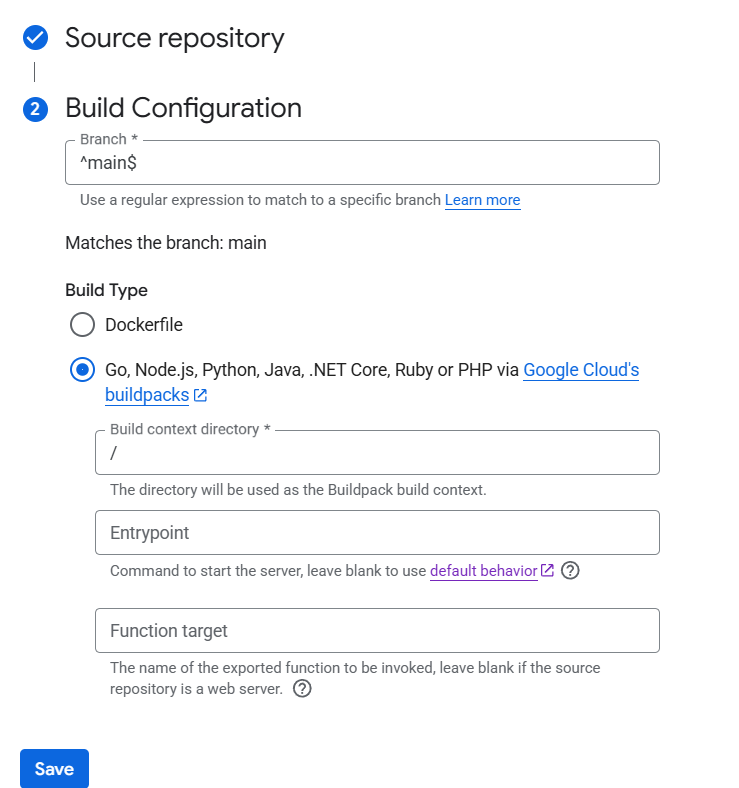
-
Optionally set the Function target here, or let the project.toml do the work, click Save.
-
Allow unauthenticated invocations
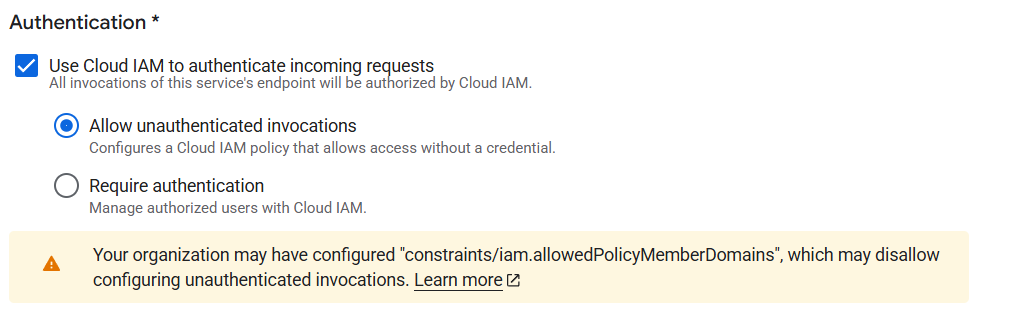
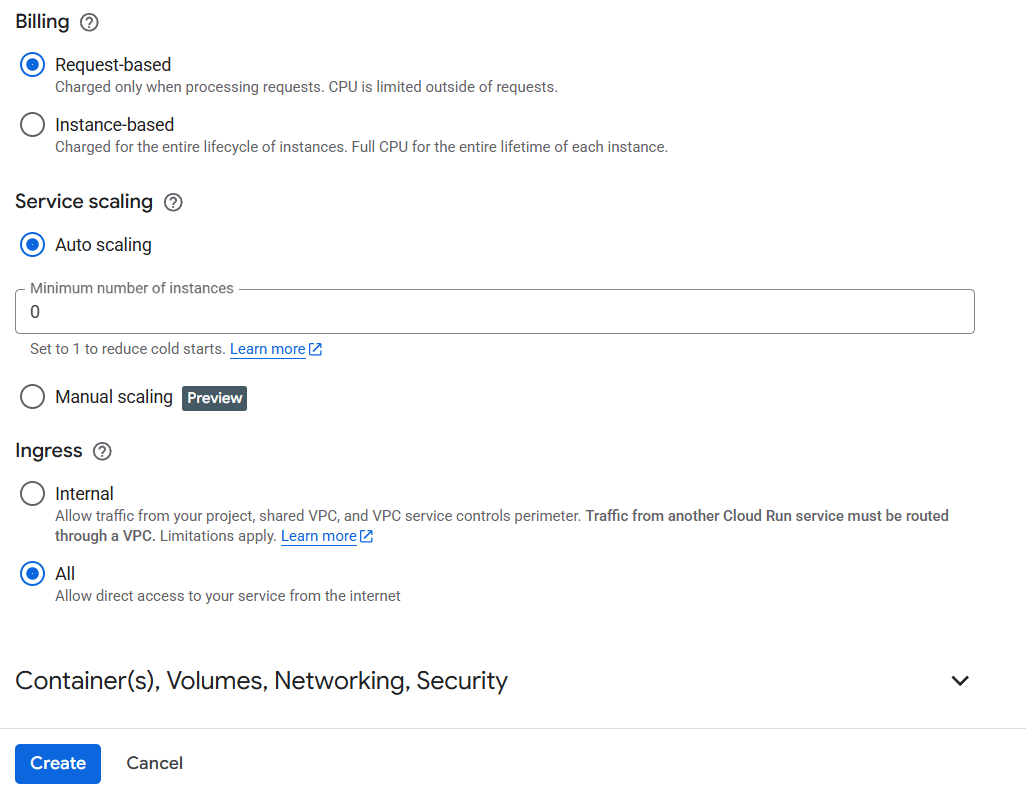
- Leave the rest default and click Create.
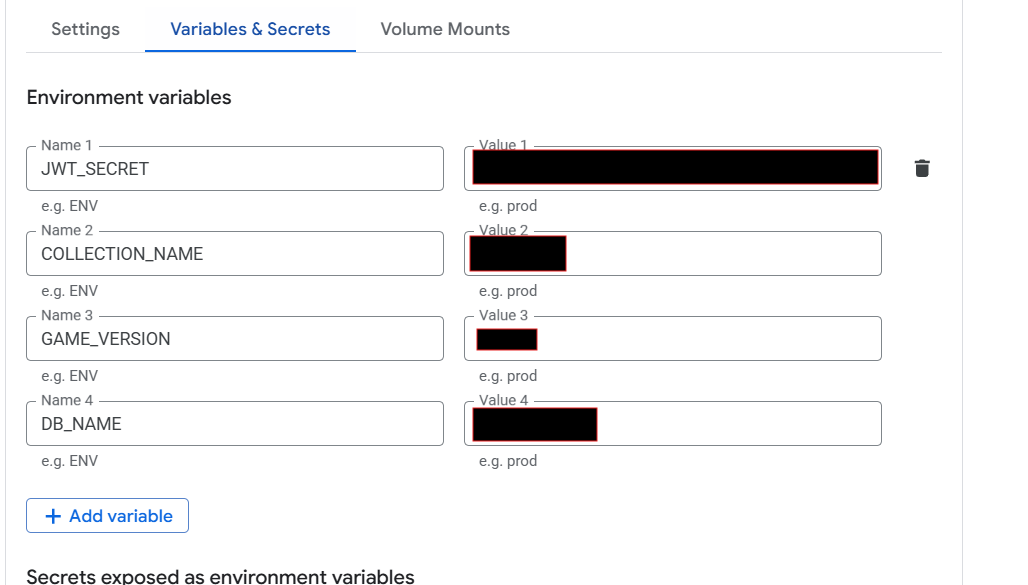
- Finally, if you're like me and forgot to set the environment details, go into the newly created service and click "Edit & deploy new revision", then set your variables under "Edit Container".
- Copy the exposed endpoint URL, and now let's hop into Unity.
See here for more information about building cloud functions.
Unity
Now on the Unity side of things, all we need to do is send our payload over to the exposed endpoint.
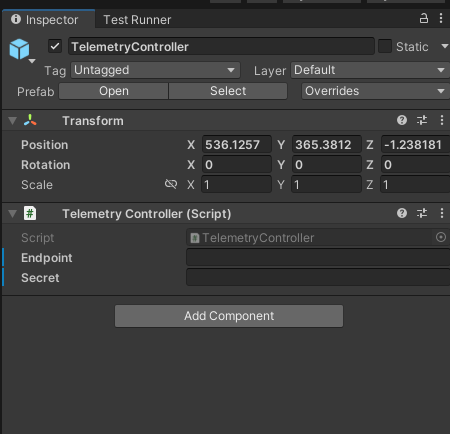
Telemetry Controller
using System;
using UnityEngine;

public class TelemetryController : MonoBehaviour
{
    public static TelemetryController Instance { get; private set; }

    [SerializeField]
    private string endpoint, secret;

    public void Awake()
    {
        if (Instance != null && Instance != this)
        {
            Destroy(this);
        }
        else
        {
            Instance = this;
        }
    }

    public void PostGameTelemetry(TelemetryPayload data)
    {
        StartCoroutine(Telemetry.PostData(endpoint, secret, JsonUtility.ToJson(data)));
    }

}
Sample TelemetryPayload
[Serializable]
public struct TelemetryPayload {
    public string battleId;
    public string timestamp;
    public string playerName;
    public string enemyName;
    public bool battleWon;
    public string[] items;
}
Telemetry Helper
using System.Collections;
using System.Collections.Generic;

using UnityEngine;
using UnityEngine.Networking;

using JWT.Builder;
using JWT.Algorithms;

public static class Telemetry
{
    public static IEnumerator PostData(string postURL, string secret, string payload)
    {
        using UnityWebRequest request = UnityWebRequest.Post(postURL, new Dictionary<string, string>() {
            { "data", JwtBuilder
                .Create()
                .WithAlgorithm(new HMACSHA256Algorithm())
                .WithSecret(secret)
                .Encode(payload)
            }
        });

        yield return request.SendWebRequest();
        if (request.result != UnityWebRequest.Result.Success)
        {
            Debug.LogError(request.error);
        }
        else
        {
            Debug.Log("Request sent!");
        }
    }
}
JSON Web Tokens (JWT) are used here for some some super simple authentication and security, it's not particularly secure, but it works well enough for our purposes.
Now slap a telemetry controller onto a gameobject, fill in the endpoint (service URL) and JWT Secret, and call TelemetryController.Instance.PostGameTelemetry(payload) from somewhere.
Example Payload
private void OnBattleEnded(bool won)
{
    TelemetryPayload payload = new TelemetryPayload();

    payload.battleId = "abcd";
    payload.timestamp = DateTime.Now.ToString();
    payload.playerName = "player";
    payload.enemyName = "enemy";
    payload.battleWon = won;
    payload.items = null;

    TelemetryController.Instance.PostGameTelemetry(payload);
}
Further Reading
Dealing with NaN
One extremely frustrating pitfall is dealing with NaN values, it completely ruins the payload, so make sure that you verify your data before posting it.
As a precaution, using JSON.Parse in your Cloud Run function can help to catch this bug.
E.g. NaN Check in C#
averageOutgoingDamage = float.IsNaN(data.averageOutgoingDamage) || float.IsInfinity(data.averageOutgoingDamage) ? 0 : data.averageOutgoingDamage;#Serializing Dictionaries Unity doesn't support dictionary serialization by default, so you either have to make your own serializable dictionary, or make do with workarounds like parallel arrays.
Parallel arrays are simply arrays that are "synchronized", they have the same number of elements, and each element corresponds to a respective element at the same index in each array.
These are perfect for serializaing dictionaries, since dictionaries are, at face value, just collections of key-value pairs.
We can split these key-value pairs into parallel arrays or lists, and pass them to the JsonUtility for easy serialization.
Example Intermediary struct for dictionary serialization
	[Serializable]
	public struct DictionaryPayload<TKey, TValue>
	{
        public List<TKey> keys;
        public List<TValue> values;

		public DictionaryPayload(Dictionary<TKey, TValue> dictionary)
		{
			keys = dictionary.Keys.ToList();
			values = dictionary.Values.ToList();
        }

		public static implicit operator DictionaryPayload<TKey, TValue>(Dictionary<TKey, TValue> dictionary) => new(dictionary);
    }
More Ideas
- Discord Webhook: Push every new instance of data to Discord, so you can monitor the data in real-time from the comfort of your discord server.
- Data Analysis: Do some Linear Regression and stuff on your data to find trends.
- AI Agent: Train an agent on your data to make an OP bot.